5-1/4" to 6.5" Speaker Upgrade2000 GRAND PRIX GT(click here for a pdf download copy) Here's a documentation of my upgrade to a 6.5" front door speaker from the stock 5.25". I wanted to use the stock speaker mount plate as it is already form-fitted to the inner door skin. It also has a "drip cap" built into it so the water that enters the inside of the door from the windows will be diverted away from the speaker to the bottom of the door and drain. Here's a picture of the stock speaker mount: 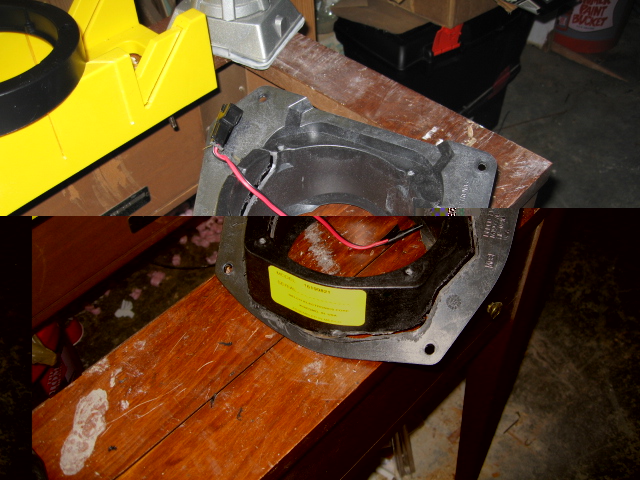 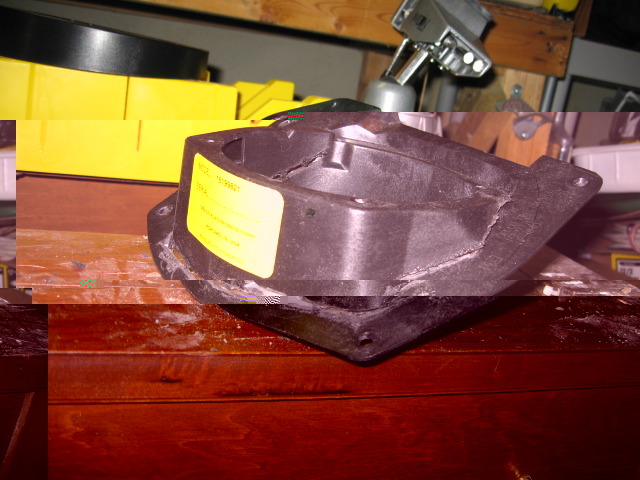 Here's a picture of the stock mount with the face cut off leaving behind a flat plate to start building the new mount: 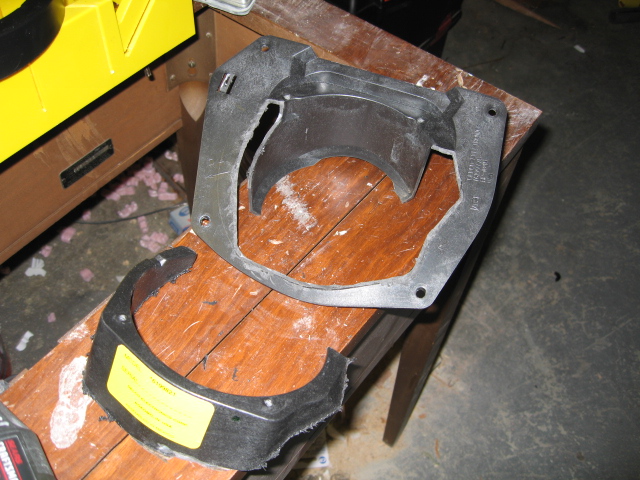 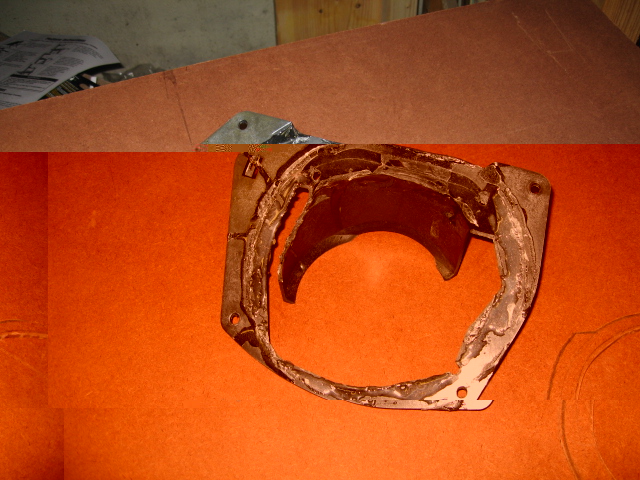 This was done in a matter of seconds by using a dremel w/ a cutoff wheel. Next, I needed to have a flat surface for the 6.5 speaker to mount to. I chose to use tempered hard board purchased from my local Home Depot (1/4 sheet 2'x4'). I wanted a material that would be durable. Tempered hard board is rigid, smooth on one side, cuts easily w/ a jig saw, and won't warp or fall apart. It should be noted that there is not much room AT ALL for the door panel to clear the top edge of the door speaker. For this reason, I chose a hard board that is just shy of 1/4" thick. I didn't want the top of the speaker to stick out too far (the stock speaker actually sits tilted back inside of flush to the door skin). Here is a picture of the template I cut out using a generic 6.5" speaker ring as a guide for the inner cut, then marked out the outer edge by 3/4". Notice at the top, I had to cut the ring down to 1/2" in order for the ring to fit inside the curve of the stock plate:  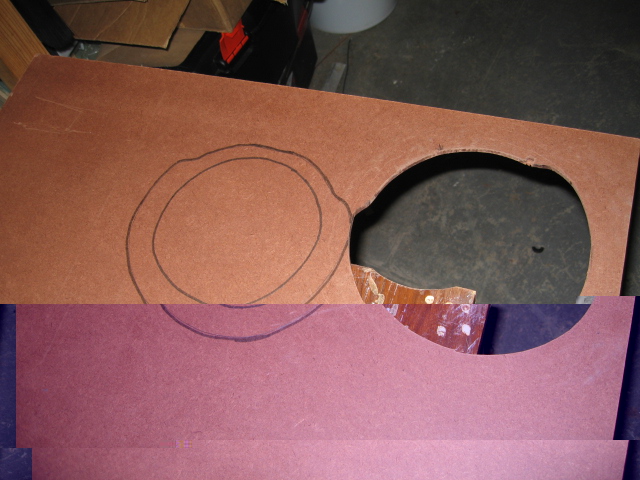 And a shot of how the trim ring fits in relation to the mounting plate: 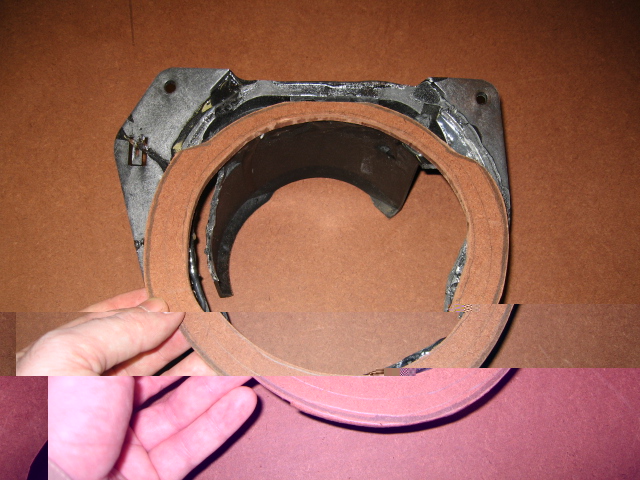 Since the original mount is made to angle the speaker up towards the cabin instead of straight into the floor space, a little work must be done in order to make the new mount. Here are a couple of shots that shows 1st the original degree of angle if the ring were to be mounted directly to the stock plate,,, and 2nd what the difference is with a more realistic angle for the new speaker: 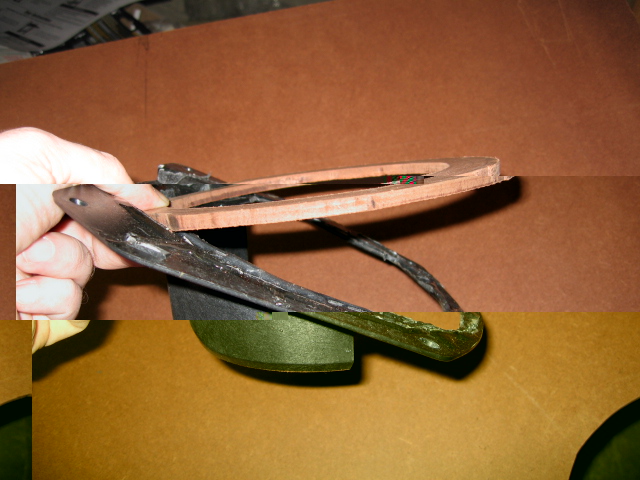 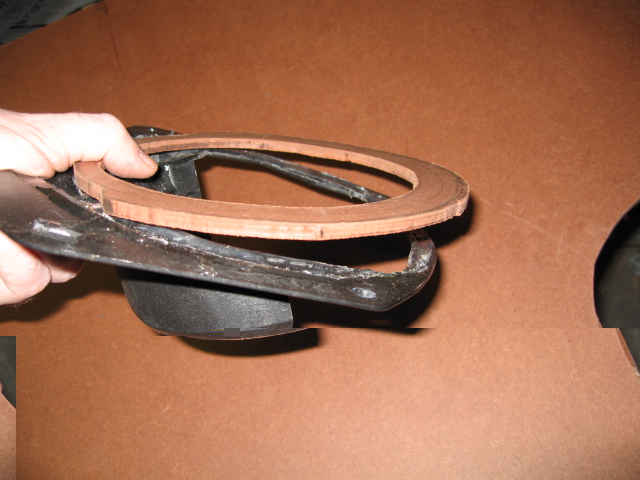 In order to support the top of the ring with the preferred angle, a "shim" had to be cut out the same hard board and then filed into a tapered wedge shape to fit between the ring and the mount (just used a standard wood file for this): 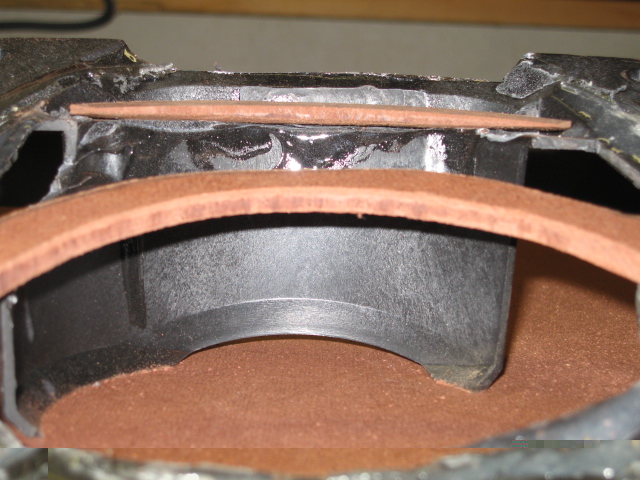 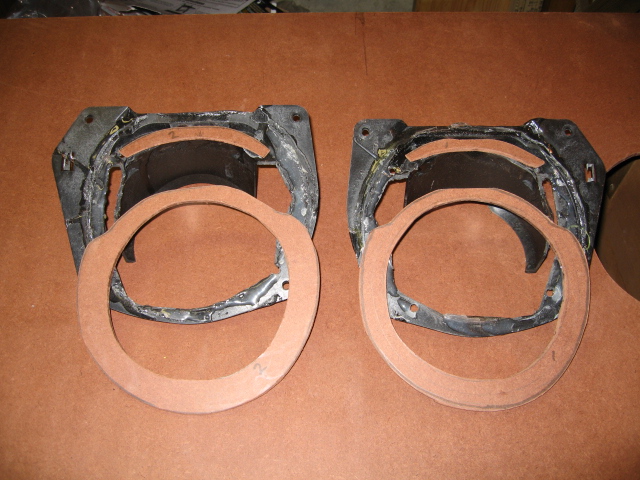 Next, I needed to create 'filler' to support the proper angle. I chose 3/4" MDF because it's easily cut and shaped (also purchased at my local Home Depot in a 1/4 sheet 2'x4'). Alas the 3/4" is just the right size to angle the speaker up towards the cabin with a single layer (I'm all about easy and simple). The MDF doesn't need to surround the entire circle of the ring, only about 2/3rds around the bottom and up the side. Note it must be shaved/angled just right to fit inbetween the trim plate and the mounting bracket. This wasn't nearly as hard as it sounds. Once the U-shaped rings were cut out (again w/ a standard jig saw), I placed them into a bench vice and cut the angles w/ a jig saw, then sanded them smooth w/ a belt sander. Here's a pic of the rings cut out and marked for the material to remove, and a shot of a test-fit: 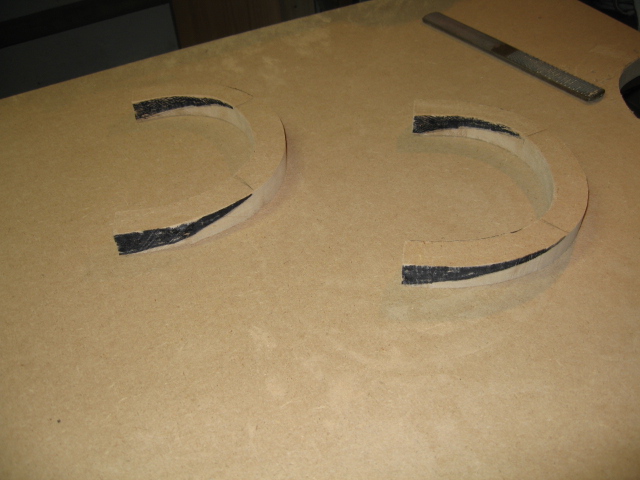 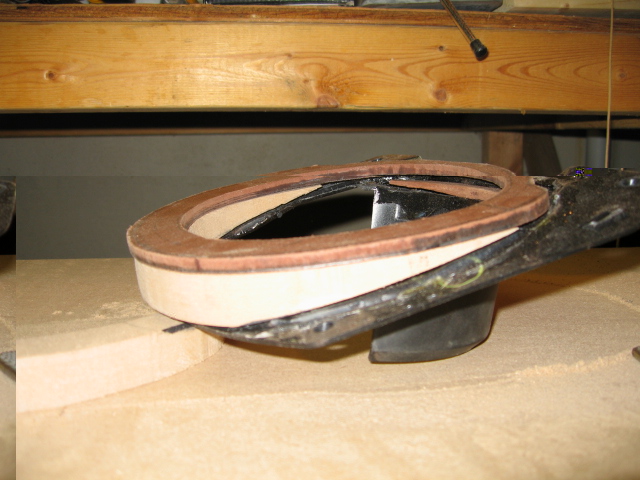 And a dry run test fit w/ the speakers checking for clearances and alignment: 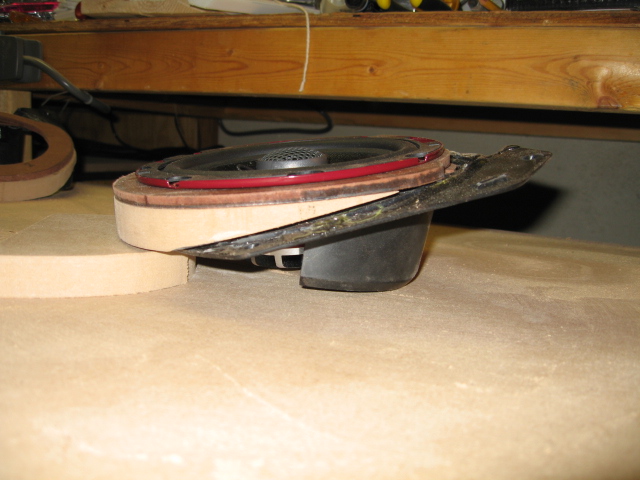  And just for fun - a comparison from the 5.25 stock to the 6.5 upgrade: 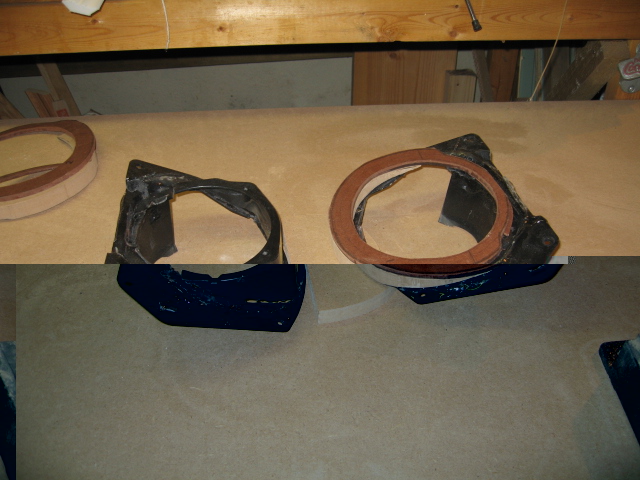  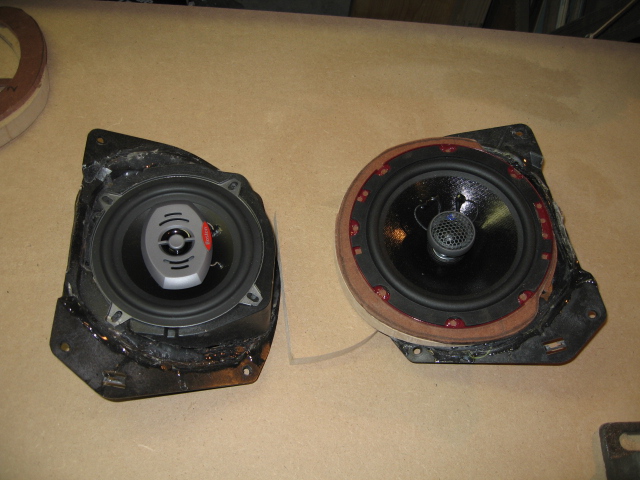 Just thought I'd take a minute to show you the tools I used from beginning to end. Note, I don't have a work-shop, just a junky basement with a few common things lying around: 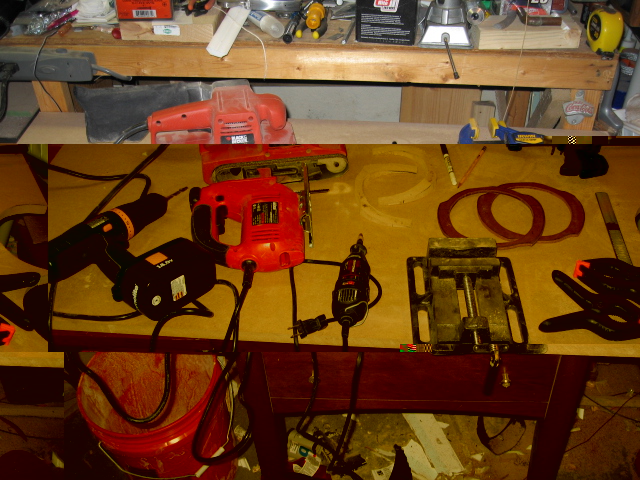 Tools: Cordless drill, belt sander, jig saw, dremel, table vice, pencil, marker, spring clamps, wood file/rasp, slide clamps, glue and screws. OK, back to work... I used an all-purpose glue/adhesive/sealant and laid down a THICK bead all around the entire setup. Under the wedge and under the MDF. Set and press. Over the wedge, around the side, over the MDF, around the other side, back up on top of the wedge. Then apply the mounting ring and press. And let dry for a couple of hours (I went to bed, it was late): 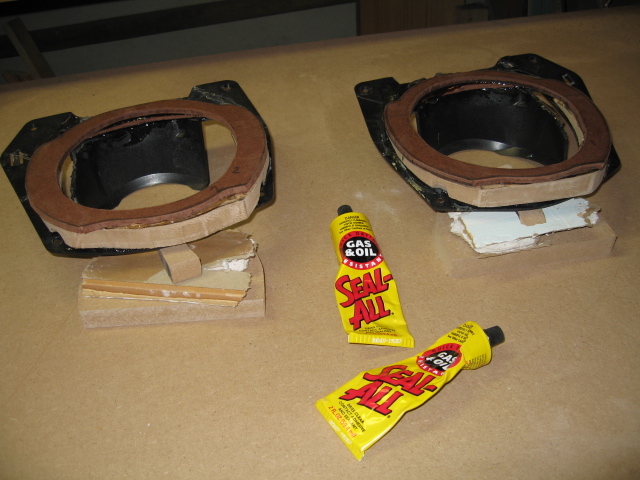 After the glue has set, the entire mount is now all one piece. The sealant has filled any gaps between the pieces and bonded everything together. Next, I wanted to make sure that the entire mount is water/weather resistant. Since MDF doesn't react well to water, and our cars are known to have "moisture issues", I didn't want to take any chances... I used a door and window caulk and smeared it along all the exposed edges inside and out. Overkill - probably. Here's some shots showing the caulk, as well as a couple of screws I put in the bottom to help secure the MDF to the base plate and also some 1/2" brad nails I shot into the hardboard to help secure it to the MDF and plastic mount. Again, Overkill? - no such thing! : 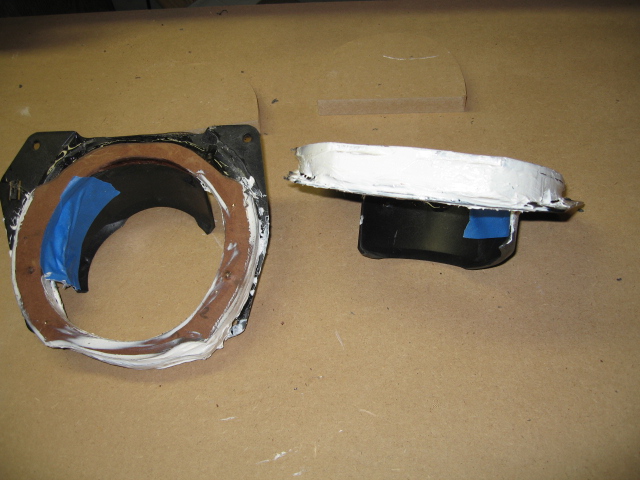 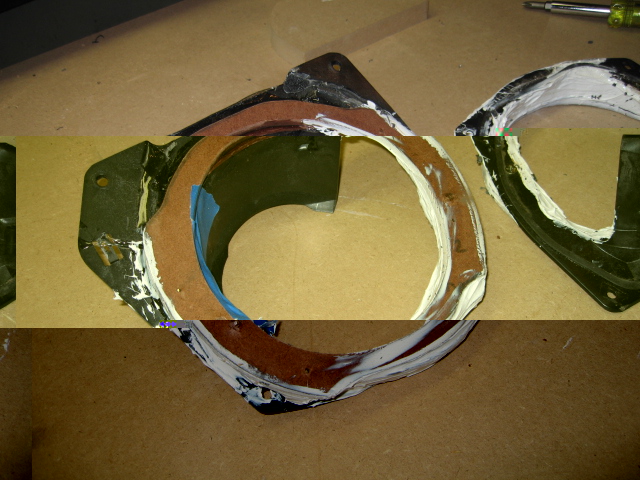 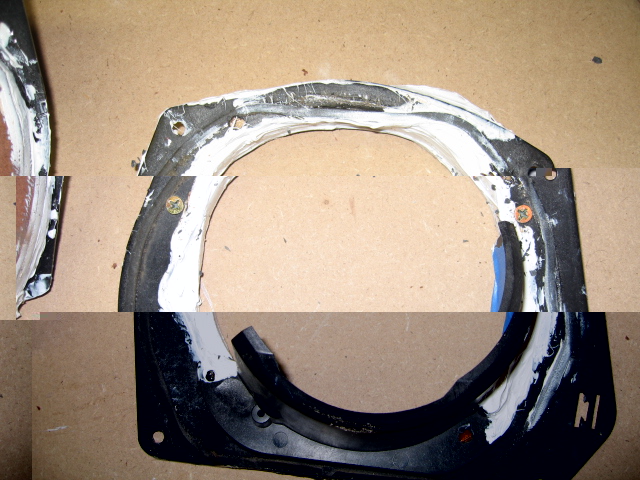 Now, FINALLY, almost there... Time to test fit the new mount to the door: Since the base is the original speaker mount, it fits like a glove! --- notice the angle, too: 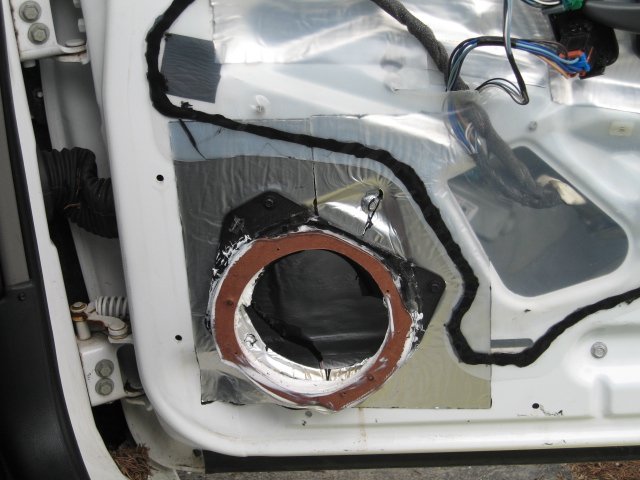 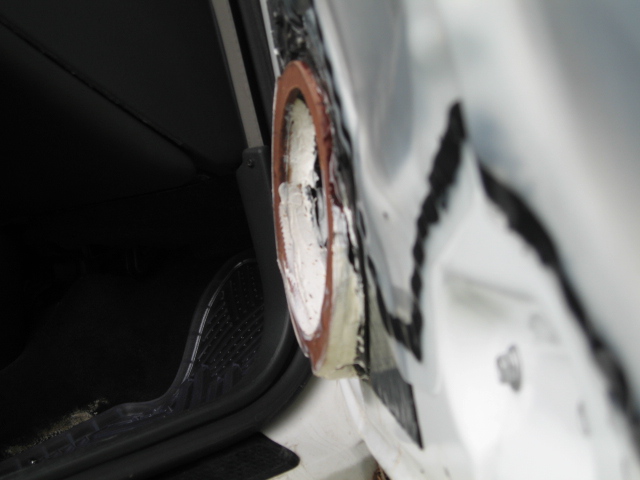 Now with the speaker installed: 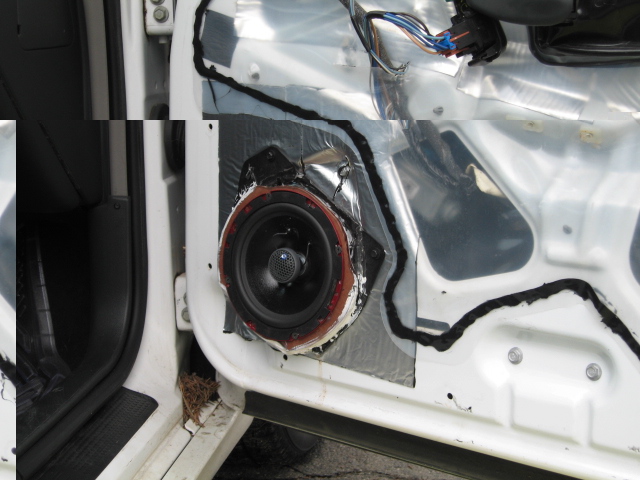 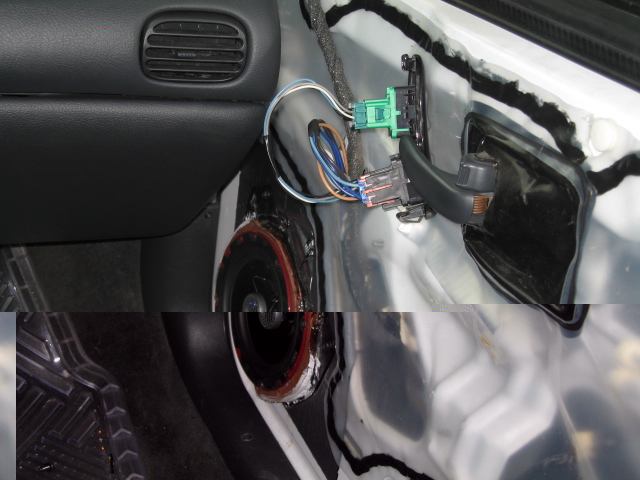 And with the door panel on:  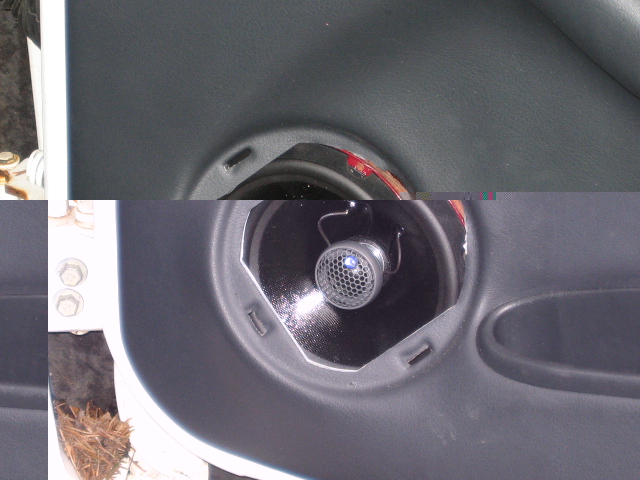 You'll notice that the top corner of the speaker was hitting the door panel, so I dremeled out that section of panel. This isn't really necessary as the panel still snapped into place, but I didn't like how tight it was. I cut out that section of panel, but you'll see in the next pics that once the stock speaker grills are put back in, you can't notice... And FINALLY DONE: 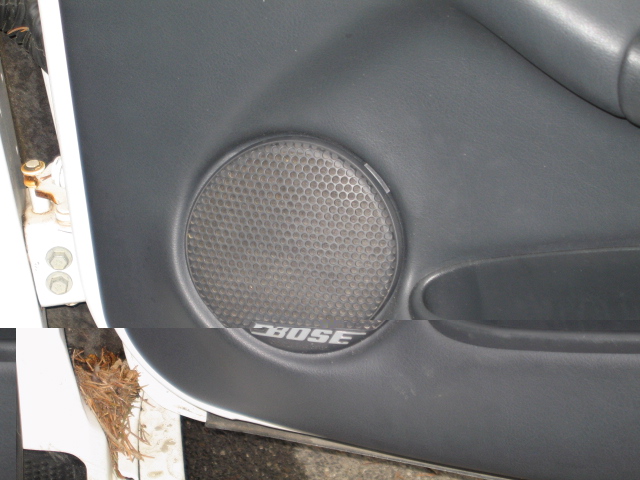 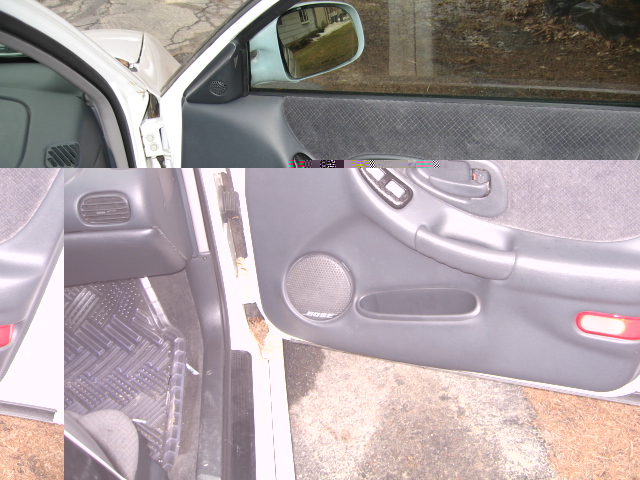 I must say, with the exception of adding my strut tower braces, and upgrading to F-Body Brakes, This has got to be the BEST UPGRADE that I've done to my car!!! Hope you enjoyed the process as much as I enjoyed the journey! |